How to use Google Workspace to log in to Zinc
Note: The person who sets this up must be an administrator of the Google Workspace Organization. If the person leaves the Organization, the connection may have be to re-authorized.
Configure the Consent Screen
The consent screen is what’s shown to users when they first sign in through Zinc. They need to consent to Zinc reading their basic information like email address, names etc.
- Within the Google Cloud Console, create or select a Project.
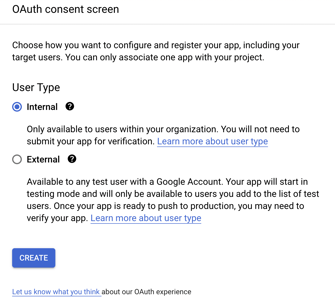
- Go to the OAuth consent screen, select Internal, and then click Create.
- In the OAuth consent screen form, fill in each field:
Field Value App information > App name The display name you want to represent to the user on the consent screen. You’d typically use your organization’s name (e.g. Acme Inc.). App information > User support email An email address for users to contact you with questions about their consent App information > App logo Optional logo to help users quickly recognize the application App domain > Application home page The full origin of your application’s home page (e.g. Zinc’s would be https://zincwork.com) App domain > Application privacy policy link The full origin of your application’s privacy policy page (e.g. Zinc’s would be https://zincwork.com/privacy) App domain > Application terms of service link The full origin of your application’s terms page (e.g. Zinc’s would be https://zincwork.com/terms) Authorized domains You need to add two domains:
- auth0.com
- Your application’s top-level domain (e.g. for Zinc, it would be zincwork.com; if your application is deployed under a subdomain (e.g. app.foo.com, use the top-level domain (e.g. foo.com)
Developer contact information > Email addresses An email address for users to contact you with technical questions about the log in process Press Save and Continue.
- In the Scopes page, just scroll to the bottom and press Save and Continue.
- In the Summary page, review the details of the OAuth 2.0 application and then click Back to Dashboard.
Create an OAuth 2.0 client
- Go to the Credentials page within the API Console
- Click Create Credentials, then select OAuth client ID

- In the Create OAuth client ID screen, fill in the following fields:
Field Value Application type Web Application Name The internal name used to identify the OAuth client in the Google Cloud console. Authorized JavaScript origins https://zincwork.eu.auth0.com Authorized redirect URIs
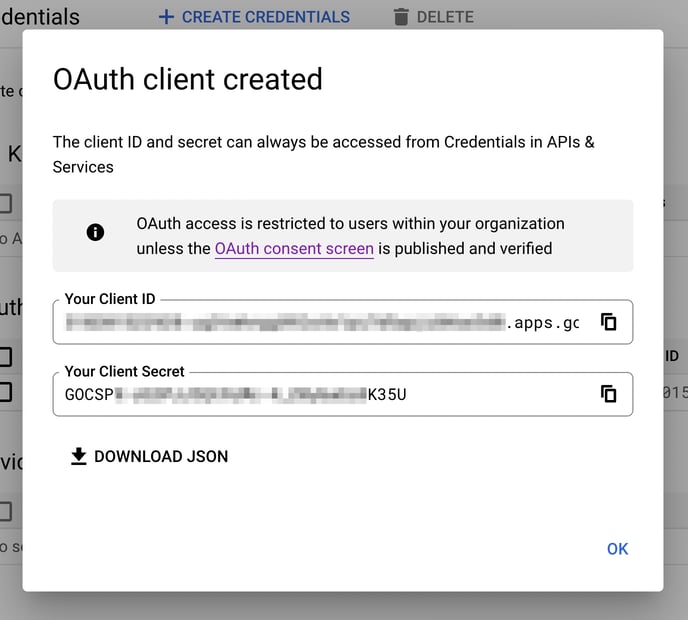
https://zincwork.eu.auth0.com/login/callback Click Create.
- You will be presented with a popup modal that contains the details of the OAuth 2.0 client, including the Client ID and Client Secret. Note these down as you will need it in a later step.
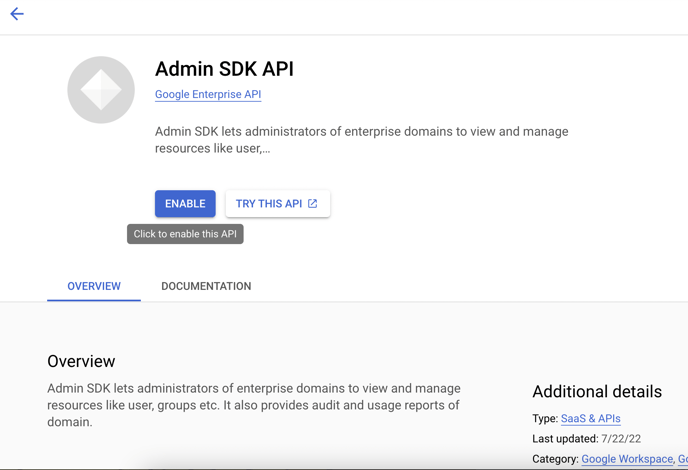
Enable the Admin SDK Service
This step is required if you plan to connect to Google Workspace enterprise domains.
- Go to the API Library page
- Search for Admin SDK
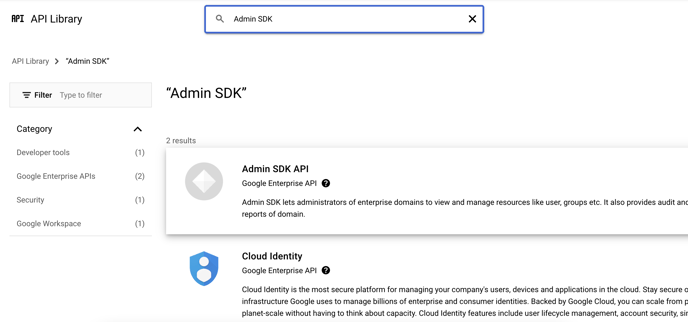
- Click on the Admin SDK API result and press Enable.
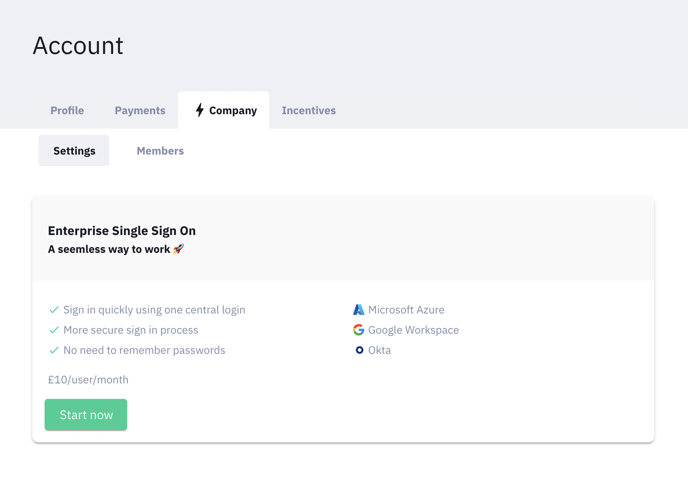
Enter Details on Zinc
- Sign in to Zinc, go to the Company page, and click Start now.
- Select Google Workspace and click Next.
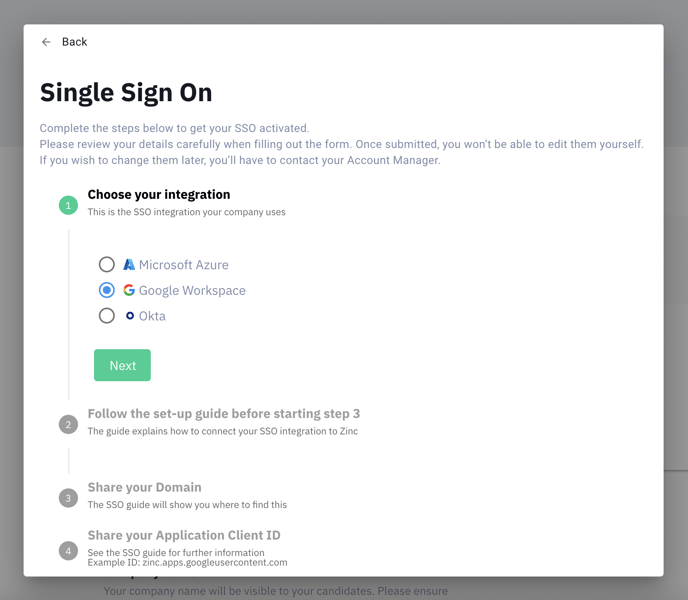
- Follow the instructions in the form and fill in each field. At the end of the form, you'll see a review section where you can review your answers before submitting.
Review your details before submitting. Once submitted, you won’t be able to make changes yourself. If you need to to edit these later, you’ll have to contact your Account Manager.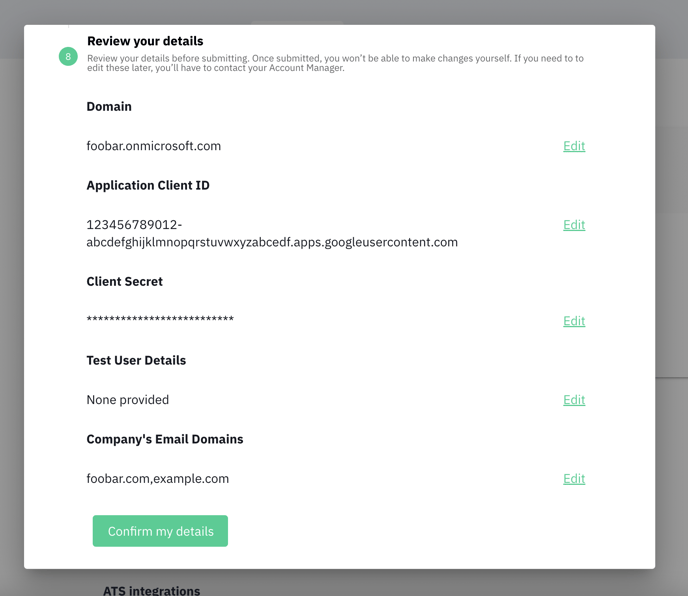
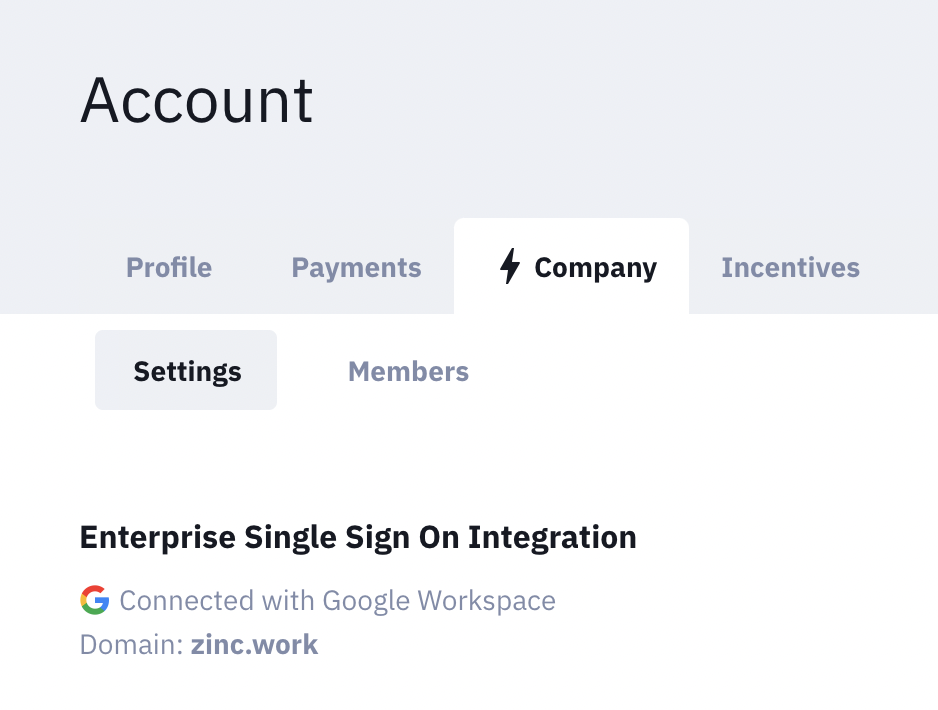
- Once you have confirmed your details, we will review your information and get back to you. Once your connection is approved, the Company page will show Connected with Google Workspace.